August 19, 2014
Finally, an up-to-date post (both the blog and the shelter)...
On yet another cool August morning, Pete and Cosmo (along with much appreciated carrying help from DCR Ridgerunnrs and staff) came in the "back door" trail to South Wilcox Shelter. Our mission was to replace a post that was starting to disintegrate at the bottom. It looks pretty bad in the photo and even though there was still plenty of material in the post for it to do it's job, but we wanted to address this before it got worse.

Pete and I broke down the work into two parts. He measured up the existing post and set about cutting and notching the new one to match. My job was to take the old post out. We were clearly playing to our strengths with this division of labor.
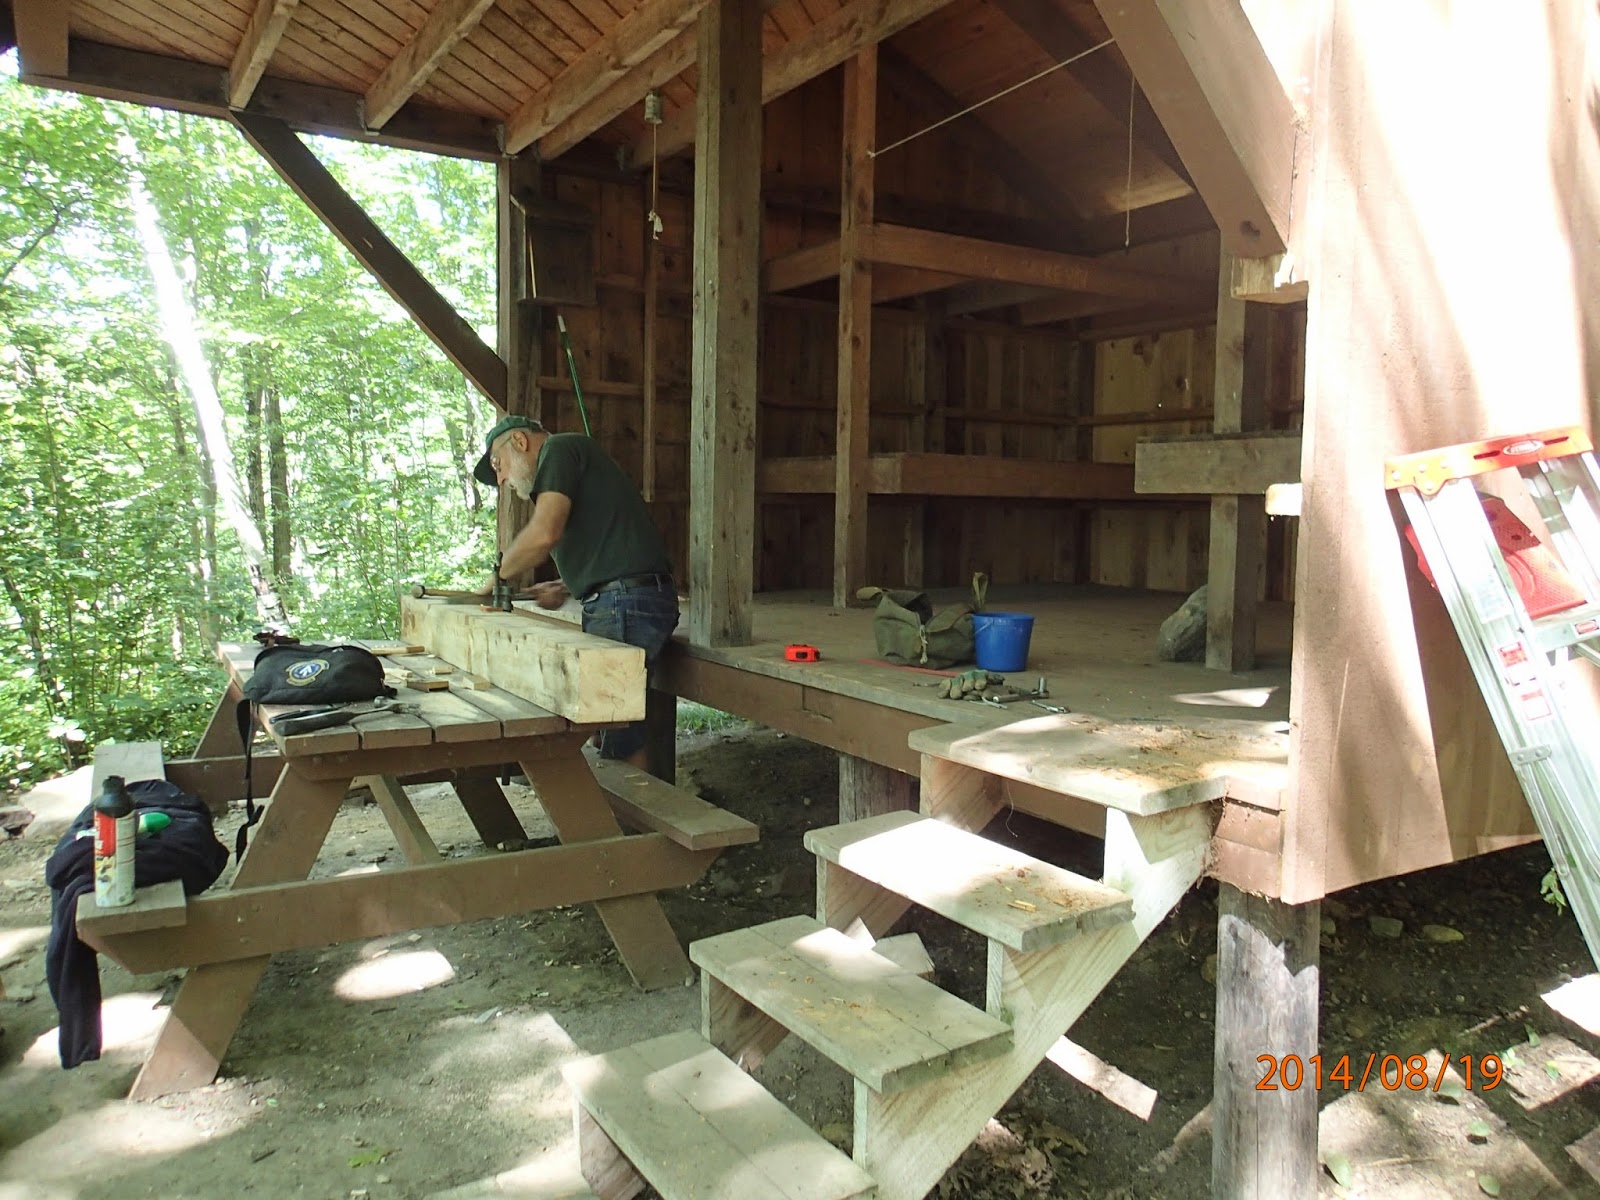 Here you see Pete working on the new post--while in the foreground I've just pulled the nails out of the siding, and cut off the bottom of the post below the diagonal brace. Those of you with some building experience might wonder if we placed temporary supports under the roof of the shelter before we took out the post--we didn't. The design of the shelter relies on the roof rafters being in tension and the majority of the mass of the shelter being at the back. The overhang is supported by the rafters and the 8x8 timber than runs the full depth of the shelter. The diagonal brace is--in theory--redundant. Now, if there had been a bunch of Boy Scouts hanging out in the loft, we might have considered a temporary support at the front--or not.
Here, both the top and bottom pieces of the post are out. Basically, the diagonal brace is all that's holding it in place. If we'd remembered to bring in the right sized socket wrench, we could have unbolted it first. Adam Morris, the State Forest Supervisor was a key player on this project, as he went to their shop and returned with the correct sized socket.


The whole thing cleared out. Pete continues to work on the replacement, here creating the mortise to hold the tenon on the diagonal brace

After lunch, we began to insert the new post. It was a tight fit. We had to use a piece of an oak sapling and a jack to stretch the distance between the roof and floor of the shelter. Then tapped the new post into place (with a 4lb sledge hammer). Note the horizontal wall framing (called "girts") that notch into the back of the post.
Because Pete cut the mortise so precisely, the diagonal brace was and easy fit up, and the job was done.

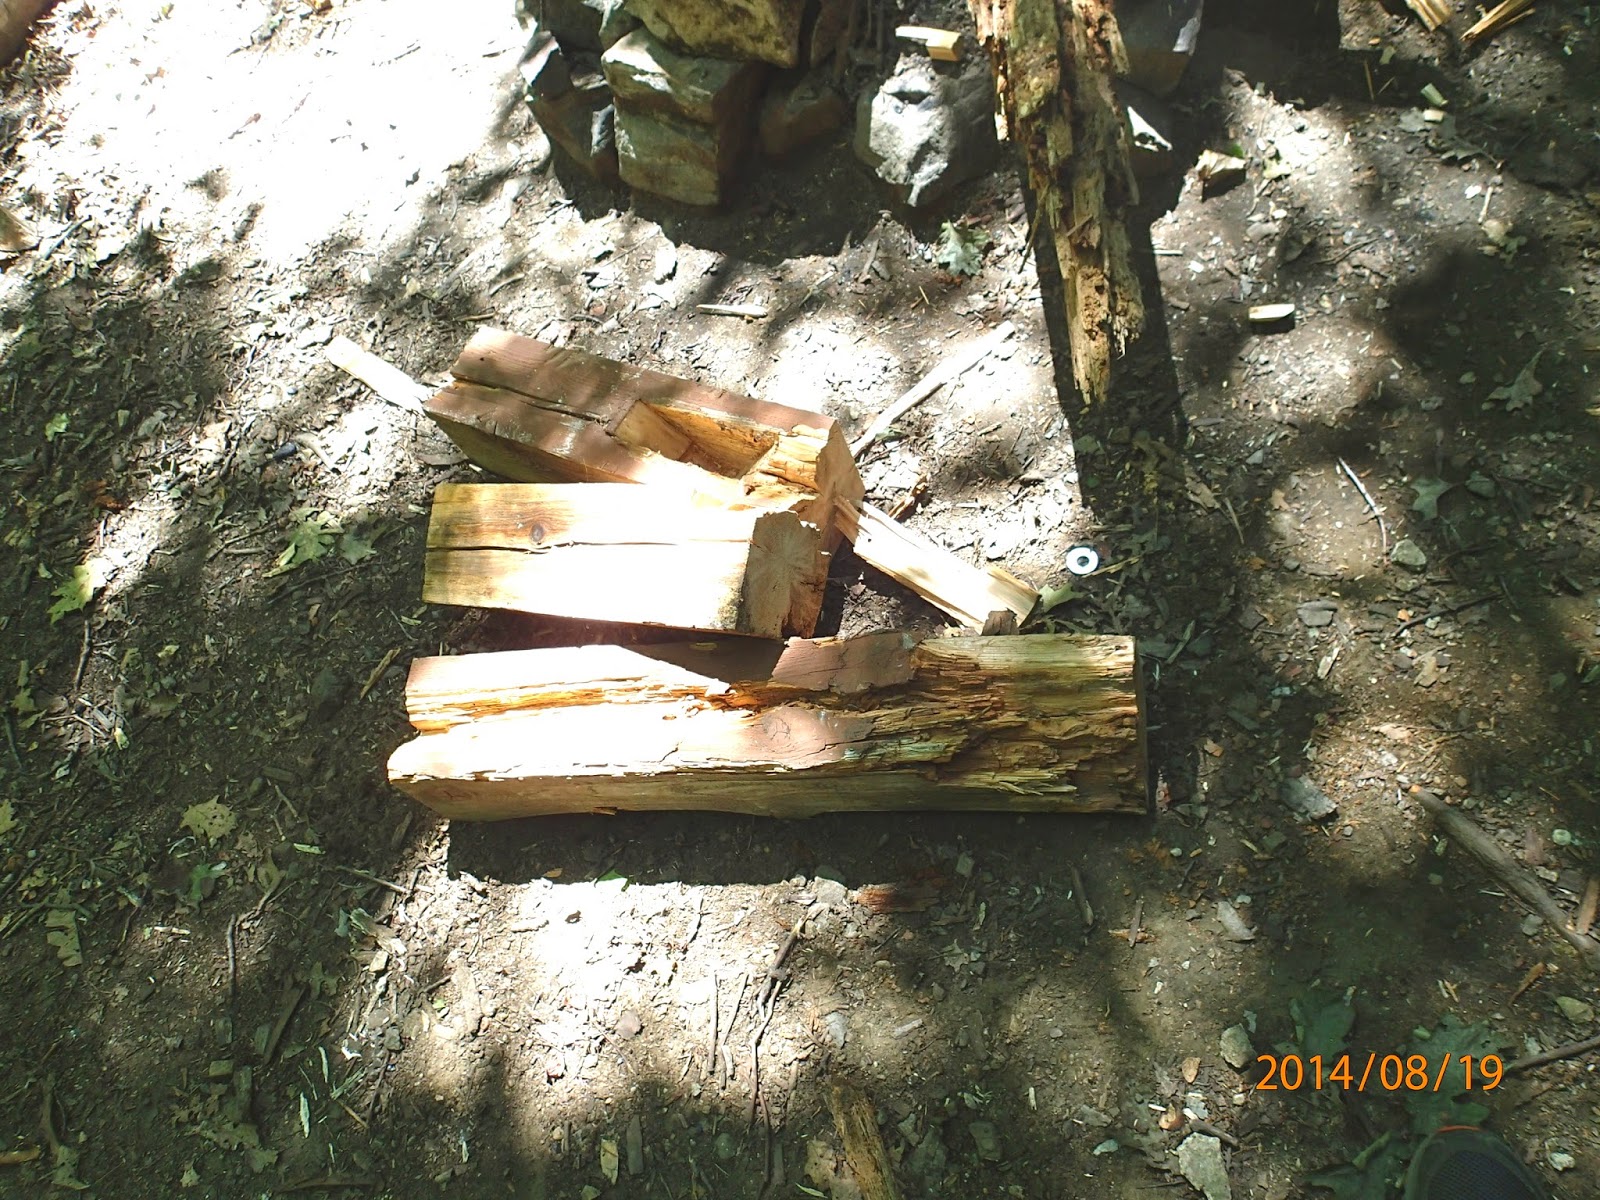 The old post was left for firewood. The dry hemlock will make for a nice evening's campfire.
Nice work!
ReplyDelete