Sunday, June 23, 2013

Bog Bridging Gone Wild--June 22, 2013

More Bog Bridging 

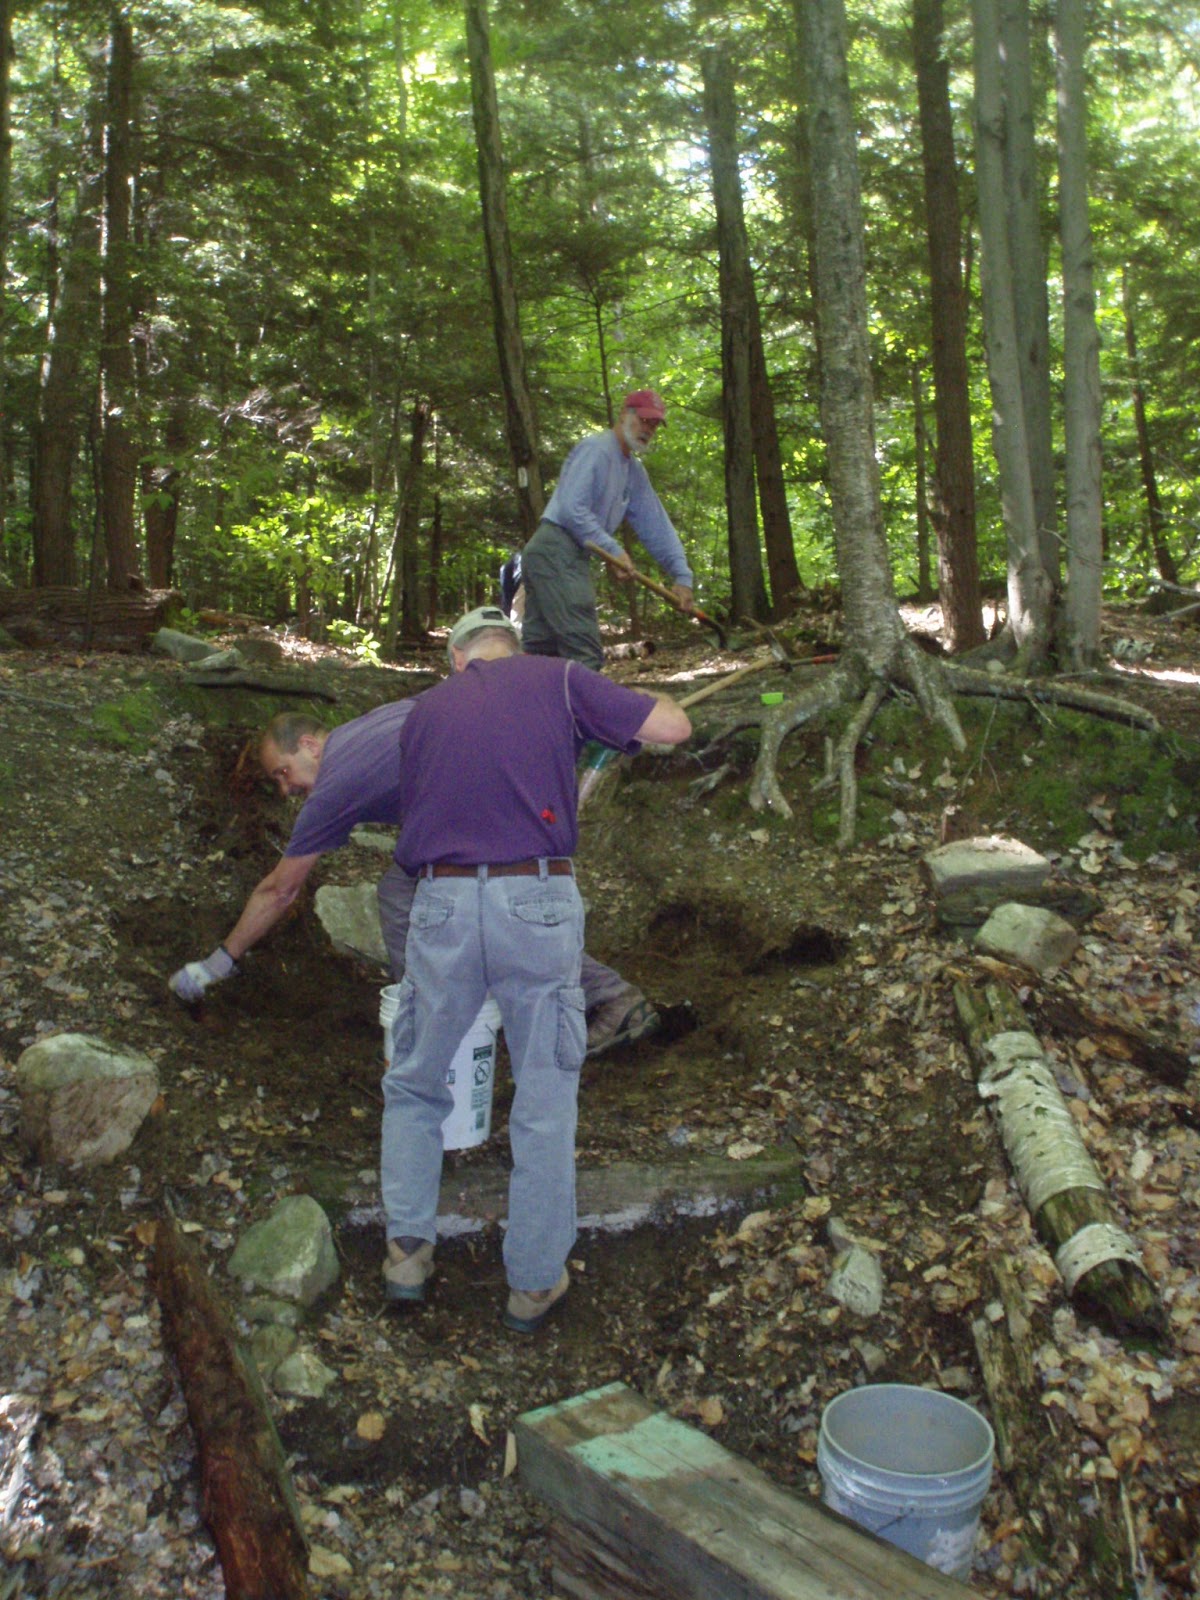
 Today's project was to get a large load of bog bridge materials to a work site that was pretty remote (for Massachusetts).  It is a good mile and a half in from the road, and the AT passes over some pretty rocky terrain on the way.  We also had over 75 pieces of lumber to deliver to this distant location.

In previous posts, I've gone into some detail about the why's and wherefore's of installing bog bridges, so the topic of this post is about Transportation.  This particular work site is so far into the woods that we were definitely considering harvesting some nearby trees to use for materials.  However, scouting around we found only a few that were suitable.  They needed to be Hemlock (moderately rot resistant and straight of trunk), have a diameter 12" but not more than 18" (larger would be too heavy to move), and provide enough length for the 200ft or so of trail that needed work.  They also had to be reasonably close to the worksite and have enough room to fell them without hanging up in other trees.  While we did find a few possible candidates, using them would mean that 10 years from now, we'd be in the same situation--but without any suitable trees.

The other issue was that processing (felling, debarking, splitting, transporting, notching and installing) native trees requires a measure of experienced crew power, and we would have needed to devote several project days to this effort--did we really have enough time this season to devote to this one project?

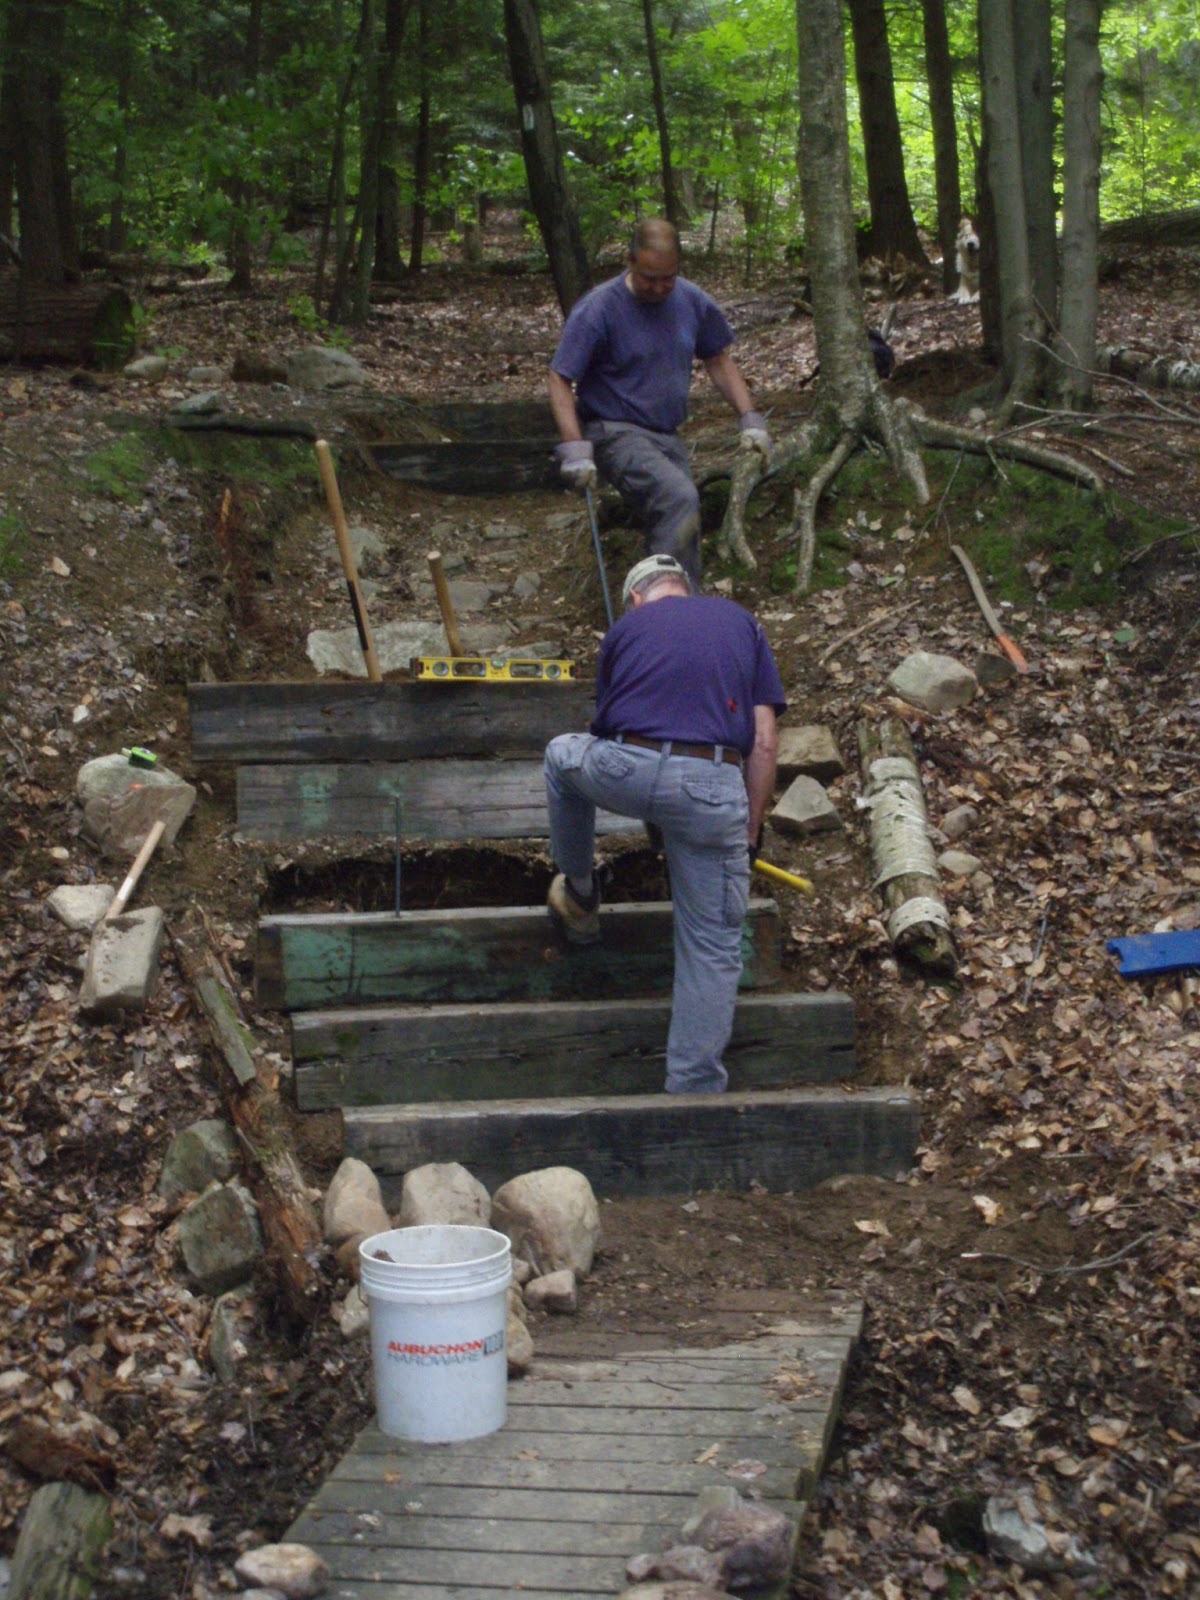
Instead, we decided to use our usual rough-sawn Tamarack lumber and  offer the project to any interested service groups.  Most service groups can put a fairly large number of people into the field on a given day.  While most are not particularly skilled in trail work, they are eager to assist, and enjoy a day outdoors--even if it means carrying pieces of wood and nailing them together in a mud hole.

However, even the most enthusiastic group would find the required 75 3-mile round trips daunting, so we looked for a way to reduce the distance from the materials cache to the worksite.

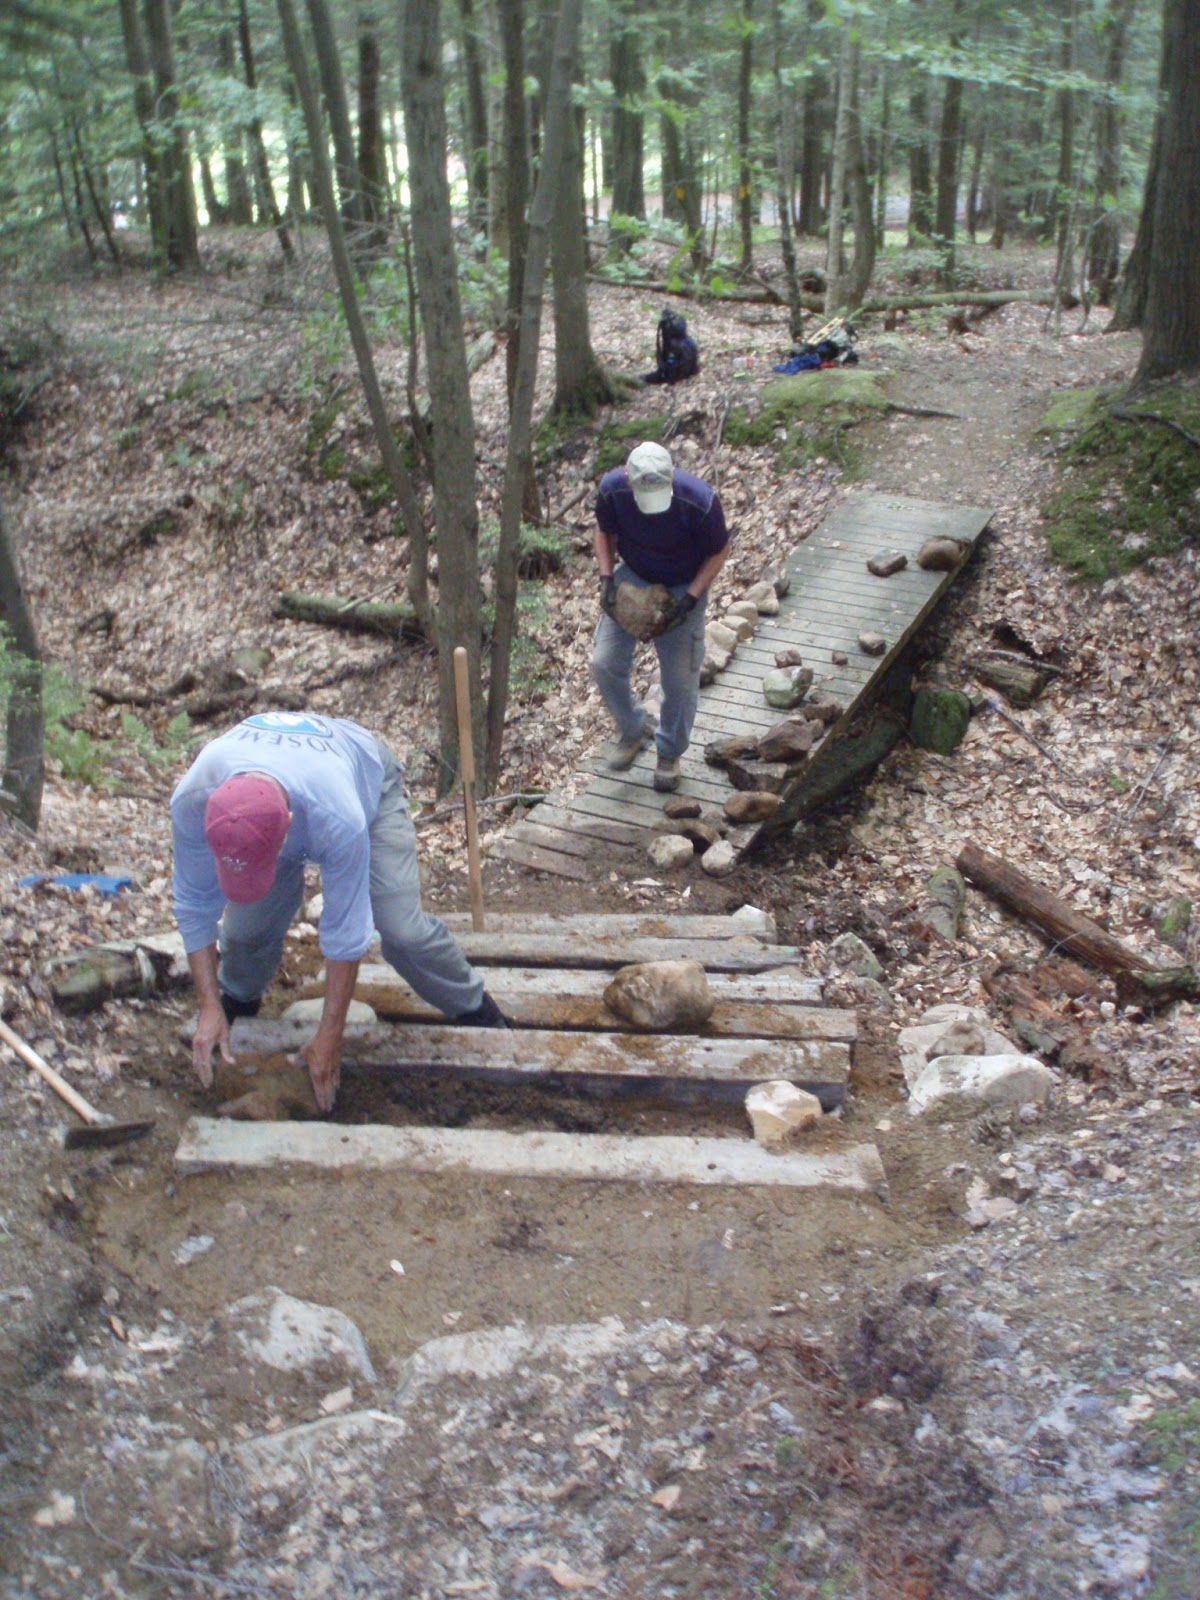
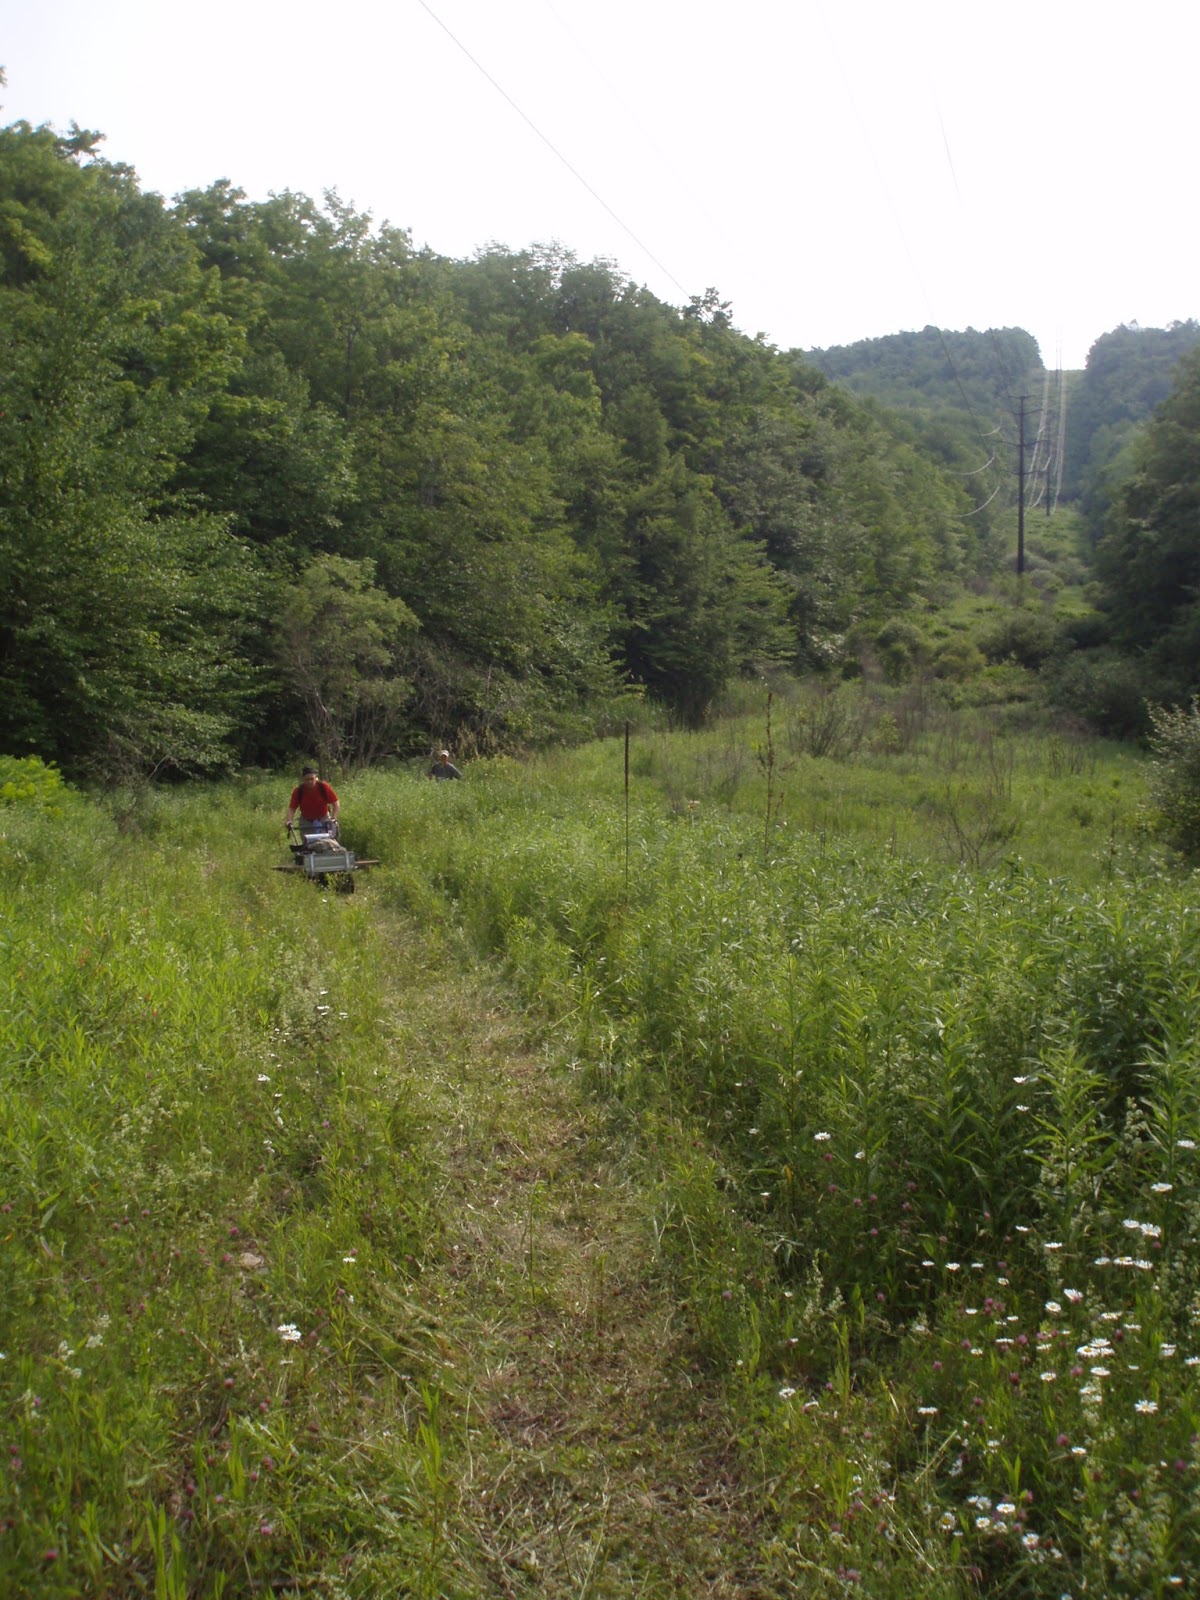
Our first idea was to make use of a power line right of way that crosses the AT 3/4 mile from the project site.  Scouting this access revealed a cliff between the road and the AT that we would not be able to get the materials over.  However, a few years ago, the local snowmobile club had cut a trail through the woods that bypassed the cliff so they could ride (illegally) on the power line.


Don, Steve and Silvia on the power line
This turned out to be the best approach, so we organized a work party to schlepp the goods to the AT, where the BSA troop will pick them up for a 10 minute walk to the jobsite.

 We decided to use a power wheelbarrow to transport several pieces of wood at once.  This is essentially a motorized, track driven bin that has a pretty light footprint and can travel over forest duff and occasional wet areas little damage to the ground.  It can carry about 400lbs at a time, up some pretty impressive slopes.  It is however, very slow and does not handle rocky or uneven surfaces very well.

Don returning with an empty wheelbarrow

The 3/4 miles of power line travel on existing twin track was not without it's challenges.  After about 3 weeks of rain, the lower areas of the vehicle track are pretty wet.  Muddy water hides two 18" deep trenches left by power company maintenance vehicles.  Stay centered to keep the wheelbarrow from sliding into them.

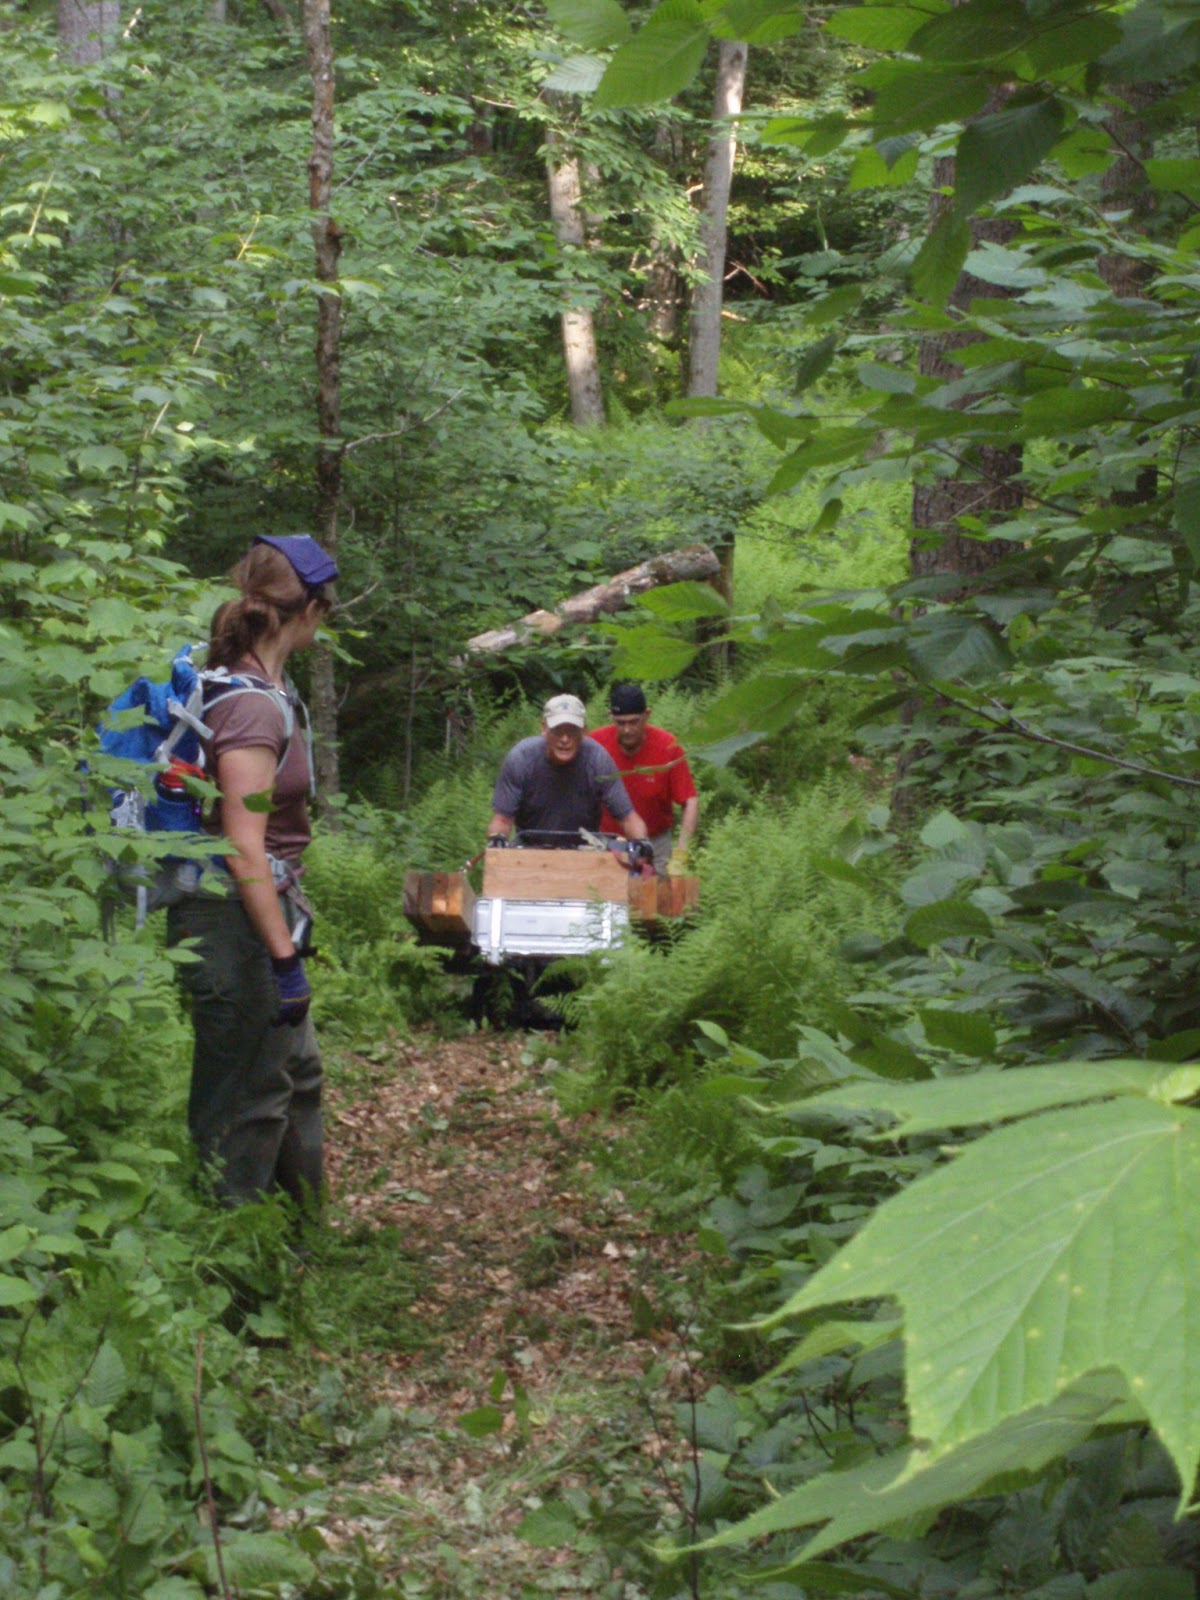
Climbing a steep slope with a load of planks
 Once in the woods, we followed the old snowmobile trail up the hill to the AT.  We typically have a spotter in front to point out rocks or other obstructions to the operator.  The wheelbarrow has very short ground clearance, and can get high-centered on protruding rocks, or if canted too far to the side, will turn over under the wide, heavy loads we placed on it.
After 6 round trips we got all of the pieces to the staging area near the AT where the scouts will hand-carry them about 1/4 mile further to the work area and install them later this month.

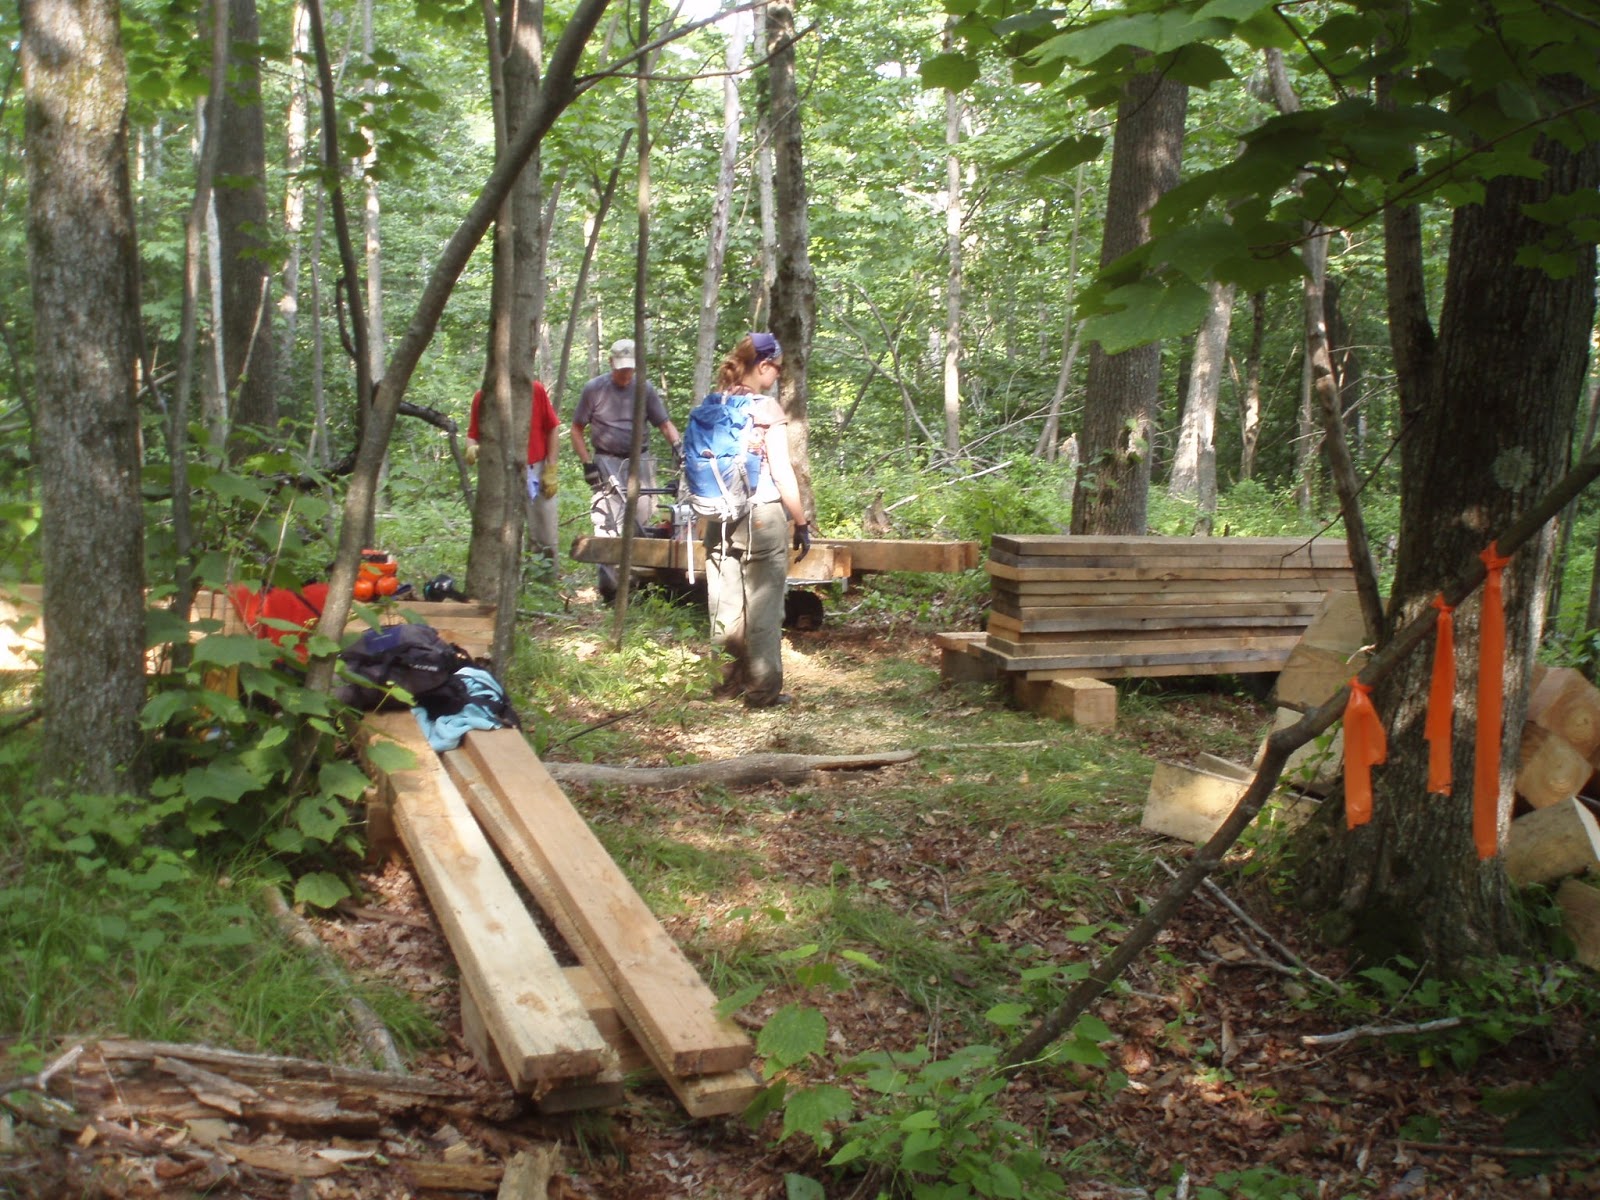
Last load to the drop off point.

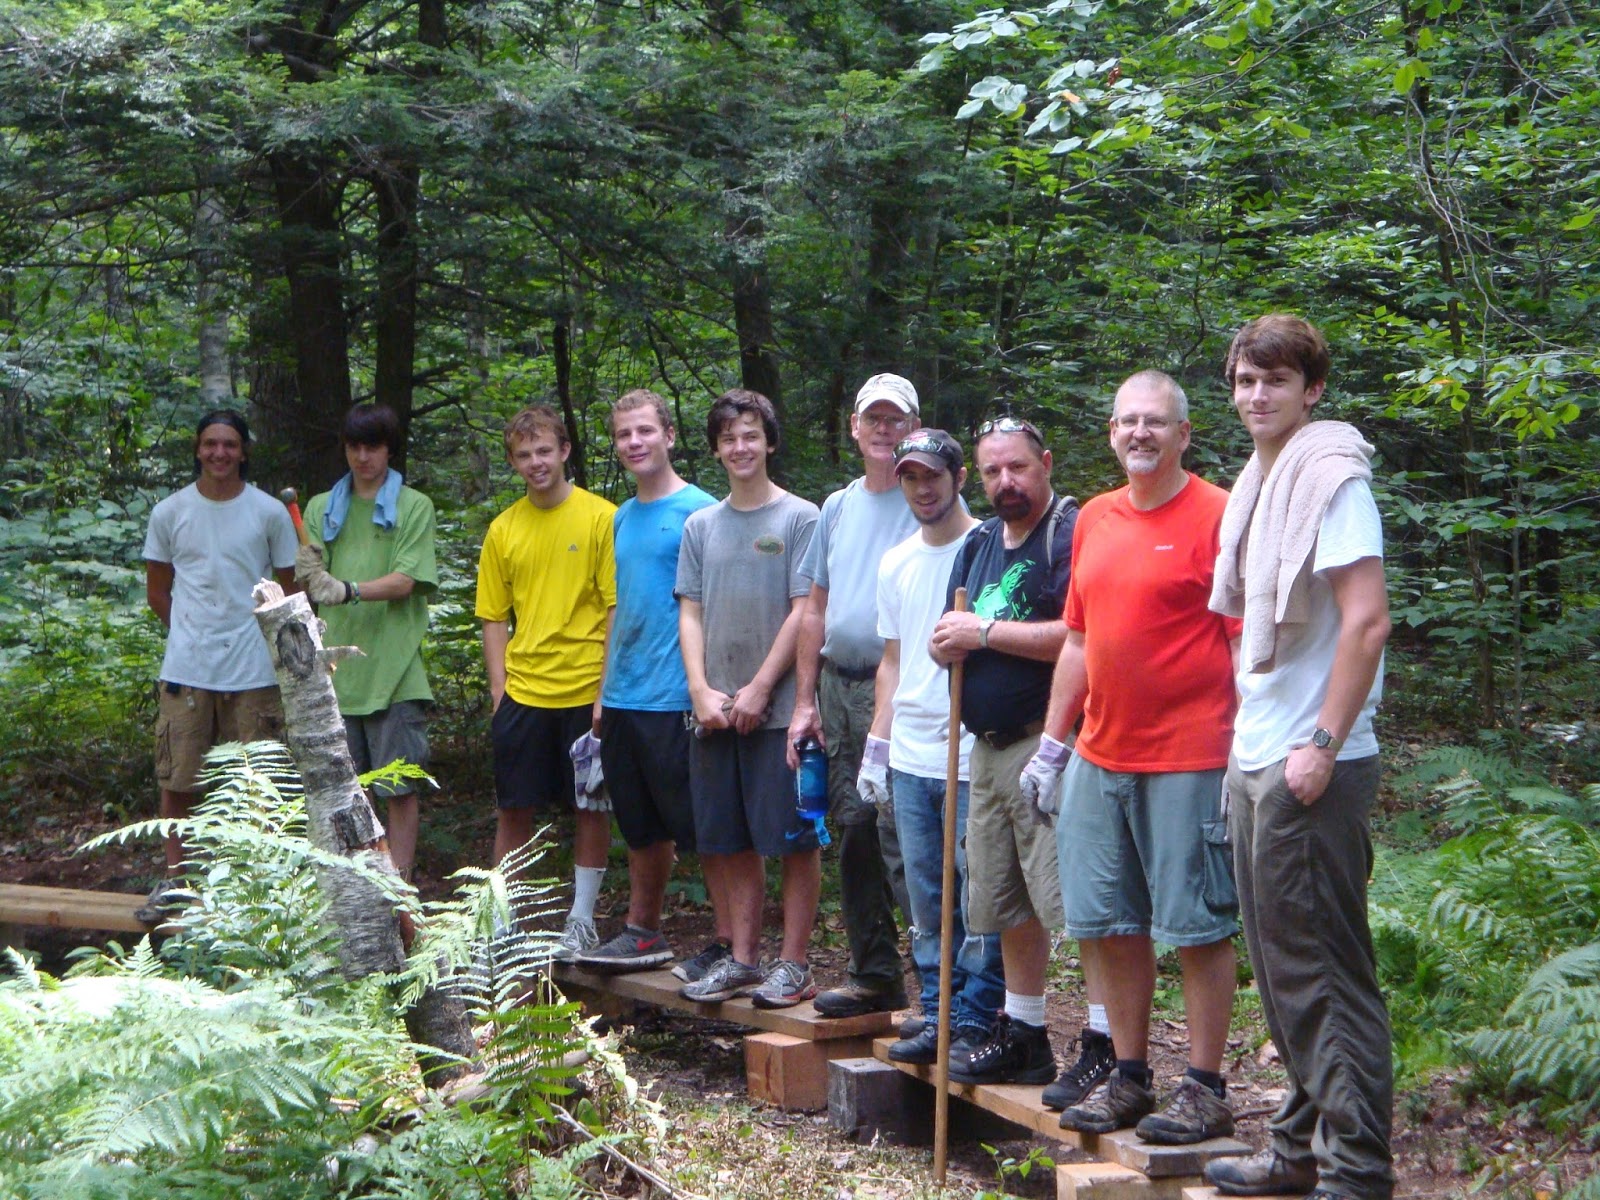
In late July, Scouts from BSA Troop 1 in Pittsfield transported and installed all of the materials on the AT.


Tuesday, June 11, 2013

A Hardened Patio for South Wilcox

The new South Wilcox shelter built in 2007 has the usual patio out front under the shelter overhang.  The patio was constructed by building up a rock retaining wall and filling the interior with rocks and mineral soil to create a level area that the picnic table could sit on, under cover of the shelter overhang.  In a project earlier this year we moved the privy at this site, (which had not been moved for 10 years by the way!) and made repairs to the rock retaining wall around the patio. 

So today our project team of Don and I started out with buckets of mineral soil from the pit behind the shelter to level the patio.  We used a long board found under the shelter as a screed to flatten and level the area.  The leveling was done by eye as yours truly forgot to bring along a level!  I would guess we put down a dozen or so buckets of mineral soil to accomplish this part of the job.  Then we mixed buckets of mineral soil with concrete (we had previously lugged in a 94# bag of cement!) in a ratio of 3 to 1 and spread the mix about 1/2" to 1" thick over the whole area.  Lastly it was time to sprinkle water over the whole area and watch the cement set.  Well actually we decided to have lunch! 

Here's what it looks like all done:

We put boards around the patio and posted a sign on the shelter center post asking hikers not to step on the patio until Friday and to feel free to put the picnic table back on the patio at that time.  Hopefully the cement will have set by then.

The idea of this whole effort is to reduce the amount of dirt that gets into the shelter from hiker foot traffic by providing a relatively hard dirt free surface in this area.  It should also make for a surface that is less likely to get uneven and erode.  There is a bit more rock work that could be done to strengthen the corner opposite the stairs but all in all we have a much improved patio. 

We have a number of open project days on our schedule this year.  If this effort at South Wilcox is successful, we may try to make the same improvement at the Noepel shelter later this year.  Anyone got some good ideas on how to lug 94#'s of cement up to Noepel?


Wednesday, June 5, 2013

6/4/13 Timber Steps at Furnace Hill Road

Today we addressed a long-standing problem on the Trail just south of Furnace Hill Rd, in Cheshire.  The trail crosses a deep drainage dip, probably created when the land was logged off in the mid-1900's.  At the bottom of this ditch we built a simple bridge about 5 years ago, but the 12ft climb back up through soft soils has been the site of a number of solutions over the past years, none of which were very satisfactory.

For this attempt, we decided to use large timbers to provide durable steps up this steep slope.  Many years ago, a trail volunteer salvaged some 6x10 timbers from a bridge being demolished in Pittsfield.  For a long time they have sat in the pile of materials adjacent to our toolshed waiting for the appropriate project.

We cut several of the timbers into 5 ft lengths and pulled out all of the old nails that were still embedded in the wood from its previous life.  Being treated with preservative, these chunks were really heavy, probably over 100lbs each.  Fortunately, the project was close to the road and we had a good crew on hand to tote these beasts up the hill.

Once on site, we demolished was was left of a rotting stair made from native logs, and a few of the undersized rock steps that were sliding down the hill.

Clearing out the former steps
Don and Dave started to excavate trenches to insert the new timbers in the lower section, while Denis started on the top two steps.  Sim started on a large drainage dip up hill from the stairs, so water draining down the trail will be diverted, reducing the erosion of the bank that supports the steps.


Setting the timbers
Figuring out at what height and distance to set the timbers was the tricky part, the slope of the hillside varies, and the steps needed to conform to it so to keep a reasonably regular interval for hikers.


Don drives rebar to pin the steps
Denis places rock to secure the timbers
The steps were pinned to the soil with re-bar stakes, but the stakes alone will not be enough to resist the weight of the backfill dirt and hiker traffic, so rocks are set at the ends of the timbers to help stabilize them.  The timbers are also installed leaning back slightly into the hillside.

 Once secured, the gaps between the timbers are filled in with mineral soil harvested from a "borrow pit" dug out of sight of the trail.  Mineral soil is the dirt that is below the soft 'living' layer that supports most of the plant life in the woods.  Mineral soil doesn't contain any roots or vegetation, so it packs down well, and won't shrink over time.  The borrow pit is then filled in with brush and branches to as not to be a hazard to people who are off-trail.


So, you may be saying, "these timbers don't look very natural, why didn't you use rocks, or logs harvested from a nearby tree or two?"  Rocks certainly would have been a longer lasting and more natural looking material, but large enough rocks were not available in this location.  To survive, rocks for steps must be very large, so most of their bulk can be buried in the soil, otherwise they won't stay in place.  The smaller rocks at this location just did not have what it takes.  Locally harvested logs were previously installed and lasted only a few seasons in this damp location.  The treated bridge timbers will last longer, and being close to the road and within sight of neighborhood houses, we did not feel we were diminishing the trail experience for hikers.  Another alternative, building side-hill trail that would switchback up the slope with no structures, was not possible in this location either.  We would need approximately 75 feet of footpath to climb this slope, and AT lands here are very narrow--we would have been well onto the neighbor's property.  So here we are with timbers.

An important final element to the project was the construction of a large drainage dip just uphill from the stairs.  No matter what materials or type of construction we installed, if large quantities of water pour over the steps in heavy rains, nothing will stay in place for long.  The drain will divert water coming down the hill away from the steps.  The local maintainer will need to make sure debris does not collect in the drain--if it is overwhelmed, we'll eventually loose the stairs too.

Just as we were wrapping up, we had our first customer, an NB thruhiker, who seemed to have no difficulty traversing our work.  Apologies for the shovel handle in the picture, my photoshop skills aren't up to removing it.


Cosmo